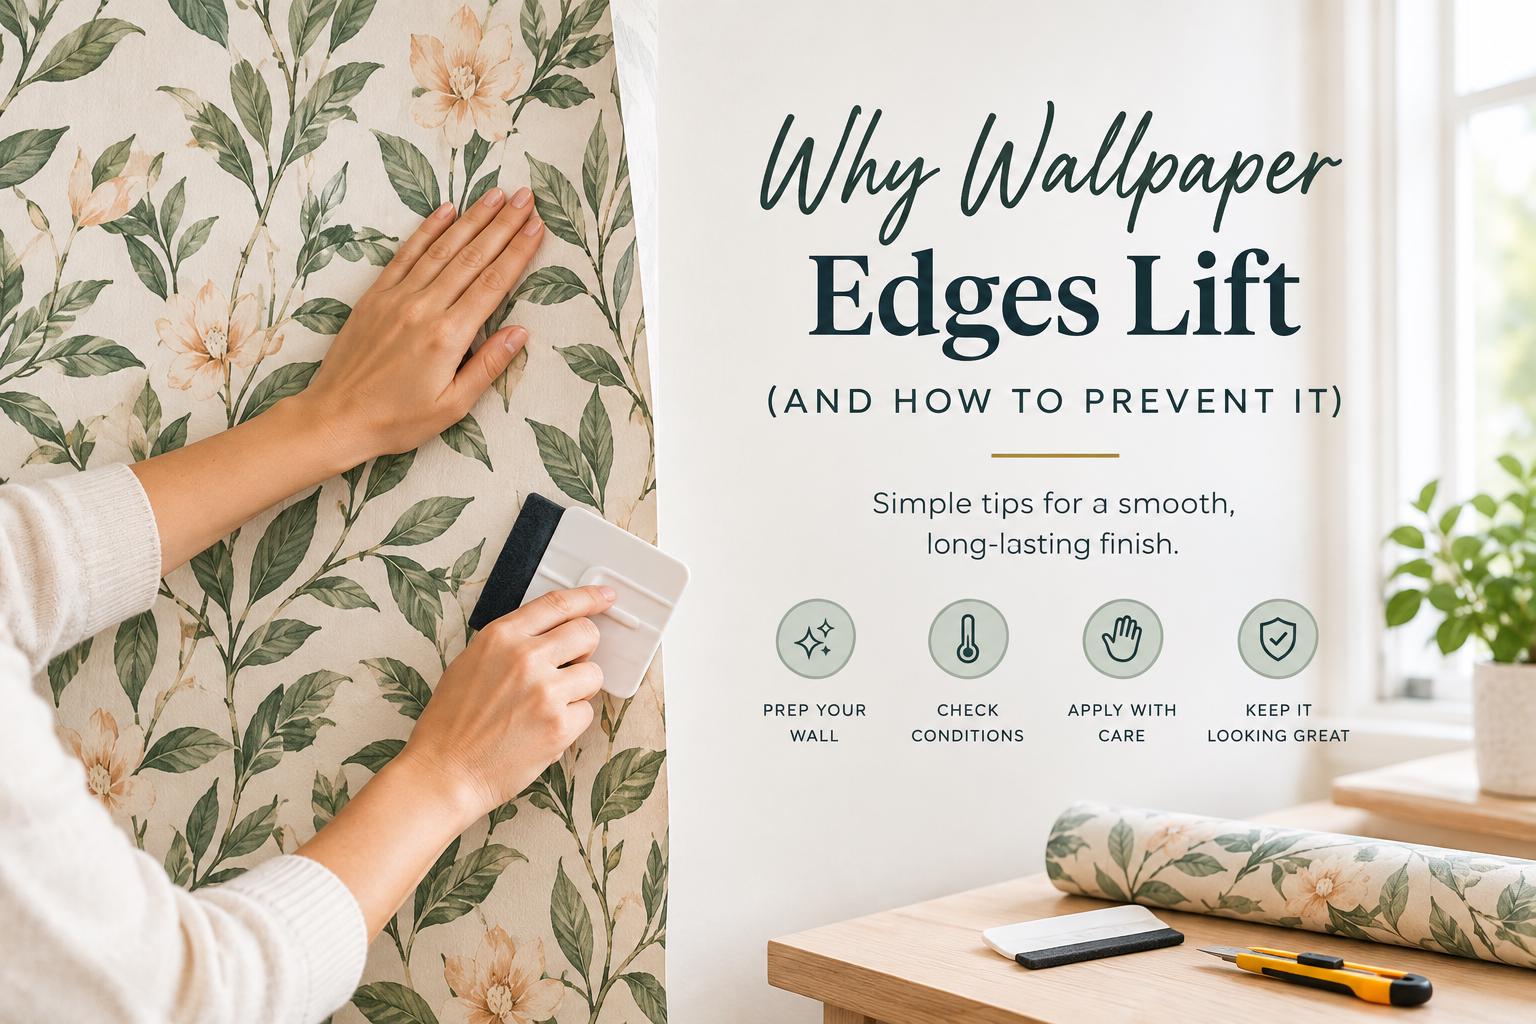
A wallpaper panel can look perfectly smooth on installation day, then develop a small raised corner near a window, outlet, or ceiling line a week later. If you are wondering why wallpaper edges lift, the answer is usually not the design or the panel itself. It is the relationship between the adhesive, the wall surface, and the conditions in the room.
For peel-and-stick wallpaper, a clean, smooth, fully cured wall creates the best foundation for a polished result. When any part of that foundation is off, the first visible sign is often an edge that begins to pull away. The good news is that many causes are preventable, and a small lift can often be corrected before it turns into a loose seam.
Why Wallpaper Edges Lift on Otherwise Smooth Walls
Wallpaper adhesive needs consistent contact with the wall. Edges are naturally more vulnerable because they have less surrounding material holding them flat. A tiny amount of dust, a textured paint finish, or a wall that has not fully cured can reduce that contact just enough for a corner to release.
The wall has texture, residue, or an uneven finish
Peel-and-stick wallpaper is designed for smooth walls. Even a wall that looks smooth from across the room may have orange-peel texture, raised paint roller marks, patched areas, or small ridges that keep the adhesive from bonding evenly. Matte paint can also be more porous than it appears, while heavily textured walls leave too little flat surface for the panel to grip.
Residue matters just as much. Dust from sanding, kitchen grease, cleaning-product film, hairspray near a vanity, and oils transferred by hands can all interfere with adhesion. This is especially common along top edges and around trim, where walls may be wiped less thoroughly before installation.
Before applying wallpaper, clean the wall with a mild, non-residue cleaner and allow it to dry completely. Avoid leaving behind soaps, polish, or cleaning sprays. If the paint has a noticeable texture, order a sample first and test it in the actual room. A sample is a practical way to check both color and wall compatibility before committing to a custom-sized design.
Fresh paint has not cured long enough
A wall can feel dry within hours of painting, but dry is not the same as cured. As fresh paint continues to release moisture and solvents, its surface can change beneath the wallpaper adhesive. That may lead to lifting, bubbling, or clean removal of paint when the panel is adjusted.
The appropriate waiting period depends on the paint type, humidity, ventilation, and manufacturer instructions, but a few days is rarely enough. For a more reliable peel-and-stick installation, let newly painted walls cure for at least 30 days. This is one of those details that can feel slow when you are ready to finish a nursery or create an accent wall, but it protects the finished look.
Paint quality and sheen can also make a difference. Smooth, properly cured eggshell, satin, and semi-gloss finishes are generally more wallpaper-friendly than heavily flat, chalky, or stain-blocking surfaces. If you are unsure about a particular paint, test a sample on a discreet area first.
Humidity and temperature are changing in the room
A wallcovering installation is affected by the room around it. High humidity can introduce moisture into walls and paint, while cold surfaces can make adhesive less responsive during application. Sudden temperature swings near exterior walls, sunny windows, fireplaces, or strong HVAC vents may put extra stress on seams and corners.
Bathrooms, laundry rooms, and poorly ventilated kitchens deserve extra consideration. Peel-and-stick wallpaper can create a beautiful powder room or rental refresh, but it is best suited to spaces with controlled moisture rather than walls exposed to constant steam or direct splashing. In a bathroom, use an exhaust fan, allow the room to dry after showers, and avoid placing wallpaper where it will receive regular water contact.
For installation, choose a time when the room is at a comfortable, stable indoor temperature. Do not apply panels to a wall that is damp, unusually cold, or hot from direct afternoon sun. After installation, give the adhesive time to settle before running a strong fan directly across the wall or dramatically changing the thermostat.
Installation Habits That Can Cause Lifting
Even with the right wall, a few small application choices can affect how well edges stay in place. Peel-and-stick wallpaper is DIY-friendly, but it rewards a patient setup.
The panel was stretched during application
It is tempting to pull a panel taut when matching a bold floral repeat, a geometric line, or a personalized mural detail. But stretching the material can create tension. Once released, the panel naturally tries to return to its original shape, and an edge or seam may pull upward.
Instead of pulling, let the panel hang naturally as you align it. Apply from the top down in manageable sections, smoothing from the center outward with a wallpaper squeegee or a clean, soft-edged tool. Use firm, even pressure without dragging the material sideways.
This is particularly helpful for large custom murals, where a small alignment adjustment at the top can influence the whole panel. Work slowly, and step back regularly to check placement before pressing down a larger section.
The edges did not receive a final firm press
A panel can look installed while still lacking full adhesive contact at its outer edges. After smoothing the main surface, go back over every edge, seam, corner, and cutout. Apply deliberate pressure along the perimeter rather than assuming the first pass did the job.
Pay special attention around light switches, doors, windows, and baseboards. These areas involve cuts, and cut edges have less material supporting them. A sharp blade and clean cuts make a difference. A dull blade can tug at the material and leave a slightly uneven edge that is more likely to catch or lift.
Seams were overlapped or forced to meet
For most peel-and-stick designs, panels should meet edge to edge rather than overlap. Overlapping creates extra thickness and can prevent the outer panel from laying flat. On the other hand, forcing panels together too tightly can create compression that later pushes a seam apart.
Match the design carefully, then let the edges touch naturally. Exact seam guidance can depend on the material and artwork, so follow the instructions that come with your order. If you are installing a mural with a continuous scene, take time to identify the panel order before peeling any backing.
How to Fix Lifting Wallpaper Edges
If you notice a lifted corner early, act before it collects dust. Start by checking the area closely. If you see lint, paint flakes, or debris behind the edge, gently lift only as far as needed and remove the obstruction without stretching the panel. Then press the wallpaper back into place with steady pressure.
If the wall is clean and the lift is minor, warming the area slightly with a hair dryer on low can help the adhesive become more responsive. Keep the dryer moving and avoid high heat, which can damage the material or affect the printed finish. Press the edge down with a clean cloth or squeegee once it is lightly warmed.
Do not reach first for glue, tape, or a random household adhesive. Added adhesives can stain the wall, create visible lumps, complicate removal, and may not hold well on painted surfaces. If an edge repeatedly releases, the wall condition is likely the underlying issue. A heavily textured surface, uncured paint, moisture, or residue needs to be addressed rather than covered up.
Prevent Lifting Before You Start
The strongest installation begins before the backing paper comes off. Measure the wall at multiple points, including around molding or sloped ceilings, and order enough material for the full intended coverage. Custom sizing helps minimize awkward joins and lets a statement pattern, city map, or children’s mural feel designed for the room rather than adapted from a standard roll.
Set aside enough time to prepare the wall and install without rushing. Clean it, let it dry, confirm the paint is fully cured, and lay out your panels in order. If you are decorating a high-visibility space such as an entryway, home office backdrop, or vacation-rental bedroom, a sample can give you added confidence in the color, texture, and adhesion on your particular wall.
A smooth wall, stable room conditions, and careful edge pressure may not be the glamorous part of a room refresh. They are what allow the glamorous part - the oversized botanicals, tailored neutral pattern, starry nursery ceiling, or personalized mural - to keep looking intentional long after installation day..