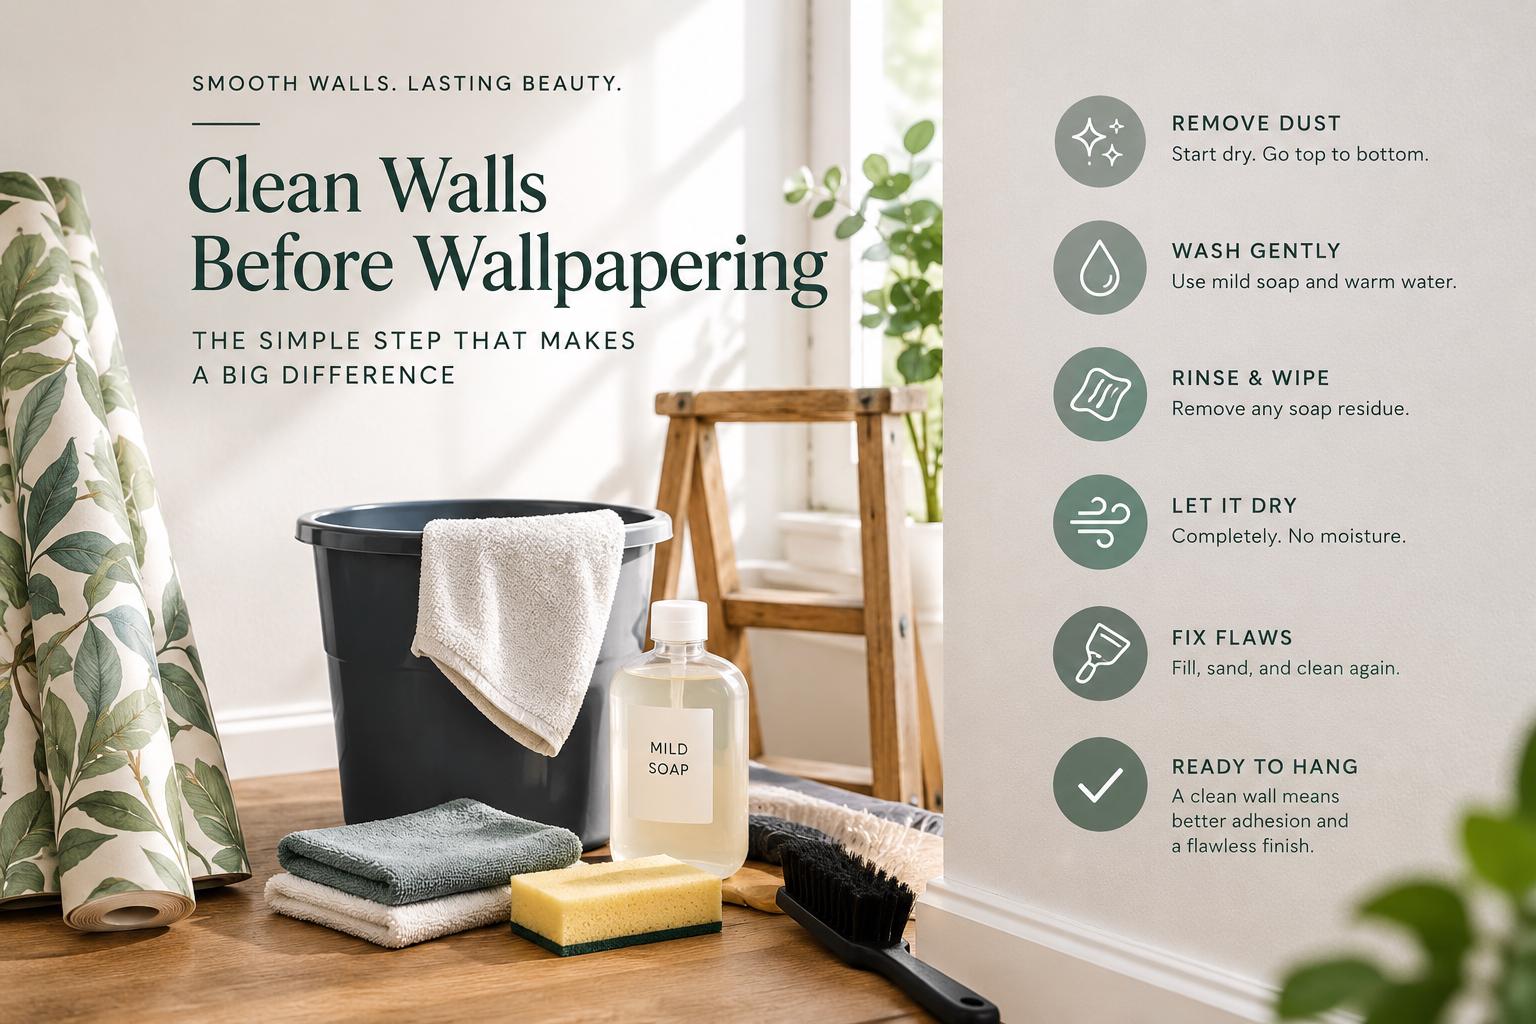
That statement mural or patterned accent wall can change a room in an afternoon, but the finished look starts before the first panel reaches the wall. Taking time to clean walls before wallpapering helps peel-and-stick material make full, even contact with the surface - especially around seams, corners, and the edges that are most likely to lift.Peel-and-stick wallpaper is designed to make a big decorative update feel approachable. It does not need paste, but it does need the right foundation: a smooth, dry, stable wall with no lingering dust, grease, cleaner residue, or loose paint. This is one part of a wallpaper project that is not particularly glamorous, but it protects the design you chose and makes installation noticeably less stressful.
Why Clean Walls Before Wallpapering?
Walls collect more than we see. Fine household dust settles on painted surfaces, cooking residue travels beyond the kitchen, and fingerprints often build up around doorways, light switches, and chair-rail height. A wall may look clean from across the room while still having enough residue to interfere with adhesive.When a peel-and-stick panel is applied over dust or oil, the adhesive is bonding to that layer instead of directly to the painted wall. The result can be small bubbles, edges that refuse to stay down, or seams that begin to separate after the room has warmed up or humidity has changed. Cleaning gives your wallpaper the smooth, intentional finish that makes a botanical print, a moody celestial mural, or a personalized nursery design feel like part of the room rather than a quick cover-up.Cleaning is also your chance to inspect the wall. A little surface prep can reveal nail holes, flaky paint, old adhesive, or uneven texture before the pattern is on the wall and harder to adjust around.
Start With a Surface Check
Before reaching for a sponge, look at the wall in natural light and run your hand over it. Peel-and-stick wallpaper performs best on smooth, sound painted walls. A lightly textured wall may still be workable depending on the texture and material, but deep orange peel, heavy knockdown texture, brick, paneling, and walls with loose or peeling paint can prevent consistent adhesion.Pay special attention to recently painted walls. Fresh paint can feel dry long before it has fully cured. For most painted surfaces, allowing at least 30 days of cure time is a sensible baseline, though drying and curing times can vary by paint type, finish, climate, and manufacturer instructions. Wallpaper applied too early may not adhere correctly, and removing it later can put added stress on uncured paint.Flat and matte paints deserve extra care. They are attractive for their soft finish, but they can be more porous and more easily marked by moisture than satin or eggshell paint. If you are unsure how the finish will respond, test your cleaning method in a hidden spot first. Ordering a sample before committing to a full custom order is also a practical way to check color, material feel, and adhesion on your specific wall.
What You Need for Wall Prep
You do not need a complicated toolkit. Gather a vacuum with a soft brush attachment or a dry microfiber cloth, a bucket, warm water, mild dish soap, clean microfiber cloths or nonabrasive sponges, and a dry towel. Keep a scraper, lightweight spackle, fine-grit sandpaper, and painter's tape nearby for small repairs and layout prep.Avoid harsh degreasers, oily cleaners, furniture polish, and products that promise shine or leave a protective coating. They can leave behind residue that works against self-adhesive wallpaper. Bleach and abrasive scrubbers are unnecessary for ordinary prep and may damage paint or create a wall that needs additional repair.If you are working in a kitchen, a busy playroom, or a rental where the wall's history is unclear, you may need a second gentle wash. The goal is not to soak the wall. It is to remove the invisible layer between the paint and your wallpaper.
How to Clean Walls Before Wallpapering
1. Remove dust from top to bottom
Start dry. Vacuum the wall with a soft brush attachment, or wipe it with a clean microfiber cloth, beginning near the ceiling and moving down. Do not skip baseboards, corners, and the top edge of trim. Dust can transfer right back onto the wall while you work if those areas are ignored.A dry pass matters because turning dust into a damp film makes it harder to remove cleanly. It also gives you a closer look at scuffs, dents, and raised bits of old paint that may need attention.
2. Wash with a mild soap solution
Mix a small amount of mild dish soap into warm water. The water should feel barely soapy, not slick. Dip a microfiber cloth or soft sponge into the solution, then wring it out thoroughly. The cloth should be damp, never dripping.Wipe the wall in manageable sections using gentle, overlapping strokes. Work from top to bottom so any moisture moves downward rather than over an area you have already cleaned. Around light switches, door frames, and kitchen-adjacent walls, spend an extra moment on visible hand oils and grime.There is a trade-off here: cleaning too aggressively can burnish or damage delicate paint, while cleaning too lightly may leave residue behind. Let the condition of the wall guide you. Most painted interior walls need a gentle wash, not heavy scrubbing.
3. Wipe away soap residue
Use a second clean cloth dampened with plain water to wipe each washed area. This step is easy to overlook, but it is what keeps a thin soap film from remaining on the paint. Rinse and wring the cloth often so you are lifting residue rather than spreading it.For kitchen grease, repeat the mild soap-and-rinse process rather than switching immediately to a strong chemical cleaner. If grease is unusually heavy, the wall may need repainting after a thorough degreasing process. Peel-and-stick wallpaper needs a stable painted surface, not a compromised one.
4. Let the wall dry completely
Dry the wall with a clean towel, then allow it to air-dry fully before installation. Depending on room temperature, ventilation, and how much cleaning was needed, this may take several hours. Overnight is a comfortable choice when your schedule allows it.Do not apply wallpaper to a wall that feels cool or damp to the touch. Moisture trapped beneath a panel can weaken adhesion and create bubbles that are difficult to correct later. If you used spackle or primer for repairs, follow the product's drying and curing guidance before moving forward.
Repair Small Flaws Before You Hang Panels
Once the wall is clean and dry, address anything that would show through or create a raised point beneath the wallpaper. Fill small nail holes and shallow dents with lightweight spackle. After it dries, sand it lightly until level with the surrounding paint, then remove sanding dust with a dry microfiber cloth.Scrape away loose paint carefully. If the wall is peeling, chalky, or visibly uneven, wallpaper should wait until the surface is repaired and properly primed or repainted. Adhesive wallpaper is not meant to secure failing paint to a wall, and covering the issue only delays it.Old wallpaper adhesive is another common obstacle. It needs to be completely removed, cleaned, and allowed to dry. Even a small sticky patch can create an uneven bond or show as a texture change under certain lighting.
Final Prep Before Installation
Right before hanging your first panel, give the wall one last dry wipe to remove any dust that settled during repairs. Then use a level and light pencil marks to establish your starting line. Walls, ceilings, and door frames are not always perfectly square, so relying on the edge of a room can send a pattern gradually off course.Keep hands clean as you handle the panels, particularly if you have been using spackle, tape, or cleaning supplies. Install in a room with a comfortable, steady temperature and avoid directing fans at the wall while applying the material. A calm, clean work area makes it easier to align seams and reposition carefully when needed.For a made-to-order design, accurate wall measurements matter just as much as surface prep. Measure the full width and height in more than one place, noting windows, doors, sloped ceilings, and outlets. A little planning protects both your custom sizing and the visual rhythm of the design.A beautifully prepared wall lets the pattern do what you chose it to do: bring warmth to an entryway, personality to a home office, or a more imaginative backdrop to a child's room. Give the wall a clean, dry, smooth start, and your peel-and-stick transformation has the best chance to look polished from the first panel to the final corner.