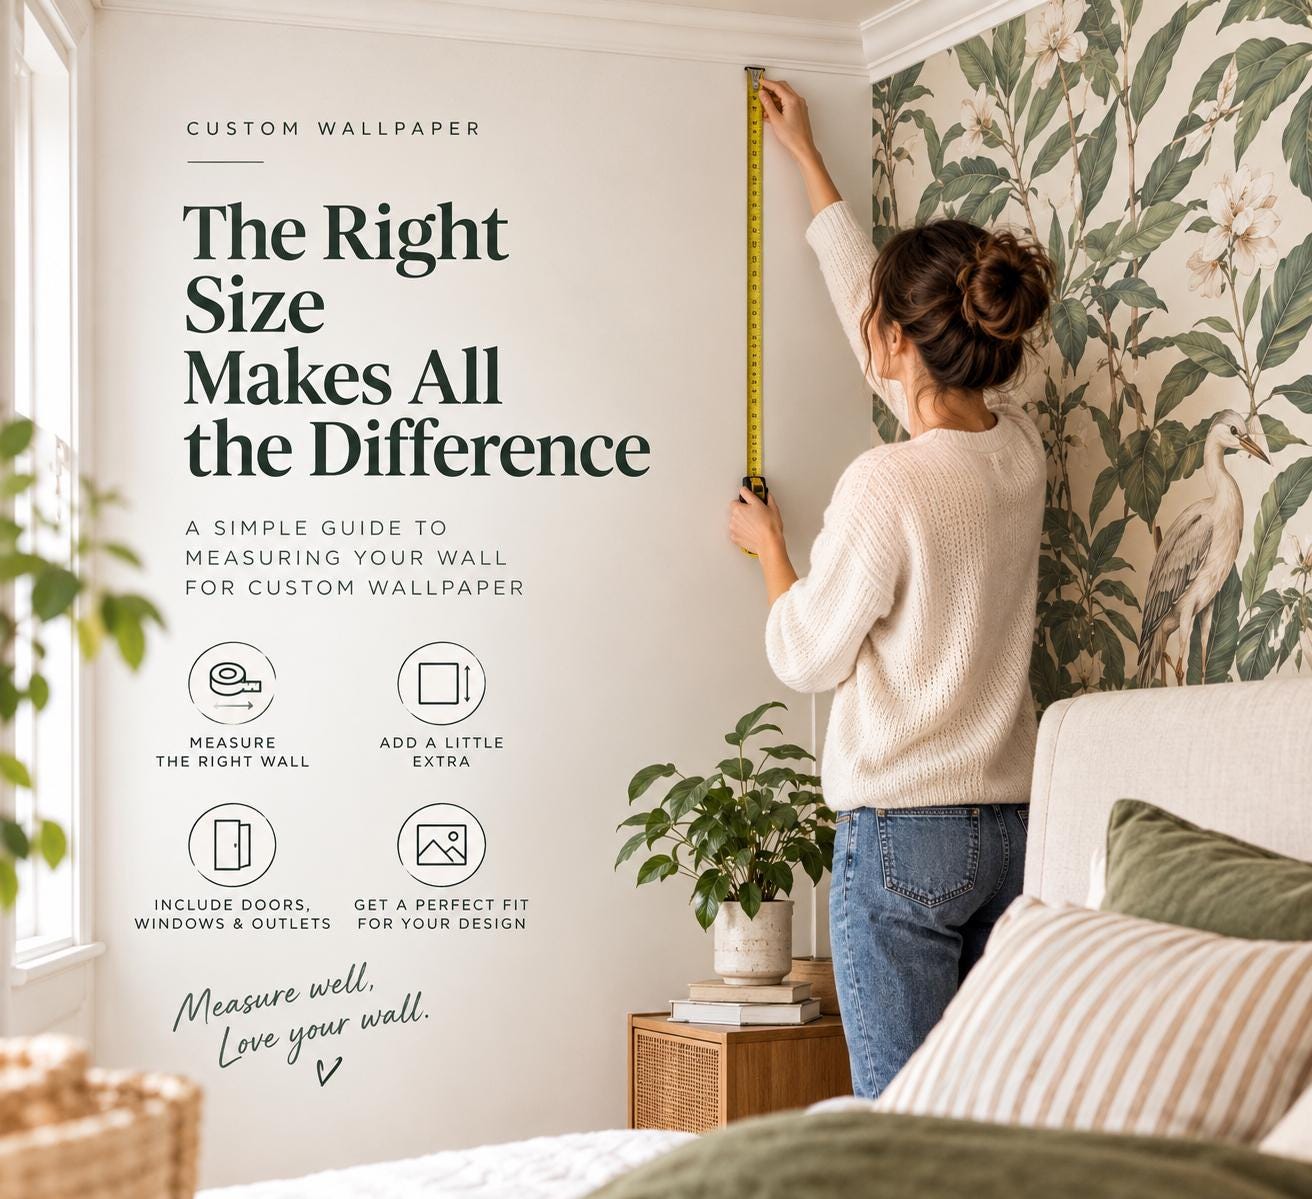
A statement wall should fit the room, not force the room to fit a standard roll. This custom wallpaper sizing guide walks you through measuring for a made-to-order peel-and-stick design, whether you are styling a nursery with a name mural, giving a home office a polished backdrop, or adding a bold botanical print behind the bed.Accurate dimensions protect the look of the finished wall and help ensure your artwork, pattern scale, and personalized details arrive with room to install neatly. Because custom wallpaper is produced specifically for your wall, a few careful minutes with a tape measure are worth far more than guessing from a floor plan or listing dimensions alone.
Start With the Finished Wall Area
Measure the wall you plan to cover, not the room. A living room may have eight-foot ceilings, for example, but a fireplace, chair rail, or existing wall molding can change the actual area that needs wallpaper.Use a metal tape measure and record your dimensions in inches. Measure the width from the far-left edge of the wallpaper area to the far-right edge, then measure the height from the floor, baseboard, or starting point up to the ceiling, crown molding, or ending point. Write both numbers down before converting anything.For a simple rectangular wall, take each measurement in at least two places. Walls are not always perfectly square, especially in older homes. Measure the width at the top and bottom, then measure the height on both the left and right sides. Order using the largest width and the largest height you find. That extra allowance gives you material to trim for a clean edge instead of leaving a narrow uncovered strip where the wall shifts.It can feel counterintuitive to order slightly more wallpaper than the visible area. But a made-to-fit mural is installed on a real wall, not an idealized drawing. A little trim margin makes DIY application much more forgiving.
Measure in Inches, Then Double-Check
If your tape measure shows feet and inches, convert the full measurement to inches before ordering. A wall that measures 9 feet 4 inches wide is 112 inches wide, not 94 inches. This is a common mix-up when a customer is working quickly between paint swatches, furniture deliveries, and a dozen open design tabs.Take a photo of the tape measure against the wall after measuring if that helps you confirm the number later. For personalized murals with names, maps, or quotes, also keep a photo of the wall in your order notes. It is useful for checking placement and visual balance before you commit.
Add Extra Material for Trimming
For most smooth, standard walls, add 2 to 4 inches to both the width and height of your largest measurements. This trimming allowance helps account for floors that slope slightly, ceilings that dip, and corners that are less straight than they appear from across the room.If your wall is notably uneven, has textured ceiling lines, or sits in an older home, choose the more generous end of that range. A 4-inch allowance is a sensible choice when you can already see that the baseboard and ceiling do not run parallel.Do not add a large, arbitrary amount “just in case.” Oversizing by a few inches is practical. Adding a foot or more can affect how a mural composition lands on the wall, particularly with designs featuring centered arches, maps, initials, or a focal animal scene. The goal is enough material for clean trimming, while keeping the artwork scaled for the space.
How to Size Wallpaper Around Doors, Windows, and Outlets
Measure the entire wall first, including doors, windows, outlets, and switches. In most cases, you should not subtract these openings from the order size.Wallpaper is applied across the continuous wall area, then trimmed around an opening during installation. Ordering a cutout shape can make panel alignment difficult and leaves no flexibility if a door frame or window is slightly off-center. A continuous design also keeps patterns and mural artwork flowing naturally across the wall.The same approach applies to electrical outlets and light switches. Keep the wallpaper whole, apply it carefully, and trim the opening after the panel is in position. Always turn off power at the breaker before removing outlet or switch plates.There are a few visual exceptions. If you are covering only the space above wainscoting, behind open shelves, or inside a framed wall section, measure that exact finished section instead of the entire wall. For a narrow strip between a countertop and upper cabinets, measure from the top of the backsplash to the bottom of the cabinets, then add a modest trim allowance.
Measuring Accent Walls and Full Rooms
An accent wall is usually the simplest project: measure one wall, use the largest dimensions, and add trimming room. Before ordering, consider where the pattern will be most visible. A bed, sofa, desk, or tall bookcase may cover part of the design, which can influence whether a large-scale floral, a detailed city map, or a quieter abstract pattern feels right.For a full room, measure every wall separately. Do not assume opposing walls are identical, even in a new build. Label each measurement by wall location, such as “window wall” or “wall behind crib,” so you can keep your plan organized.A continuous wraparound look can be beautiful, but it requires extra attention to corners, pattern flow, and the placement of doors and windows. If you are new to peel-and-stick wallpaper, one feature wall often delivers the biggest transformation with the most straightforward installation. For a rental, a single removable accent wall can also be an easier choice when it is time to move.
Sloped Ceilings, Stair Walls, and Other Tricky Shapes
For a wall with a sloped ceiling, measure the full width and the tallest point of the wall, then order a rectangle using those dimensions plus trimming allowance. The excess material is trimmed along the slope during installation.For a staircase wall, measure the widest horizontal span and the greatest vertical height. It may seem wasteful to order for the full rectangle, but it gives you enough material to cover the stepped or angled profile without piecing together an awkward shape.Arches, alcoves, and built-ins follow the same principle. Start with the largest rectangular area that contains the shape. If your project includes several small sections, such as inset niches around a fireplace, measure each section independently. This can preserve design scale and reduce unnecessary material, but only if you are comfortable matching the placement across separate pieces.
Think About Artwork Placement Before You Order
Sizing is not only math. It also determines what you see first when you enter the room.With repeating wallpaper patterns, extra width and height are generally easy to trim because the motif continues across the design. With a mural, placement deserves more thought. Consider the center of the wall, the top edge of furniture, and any feature that will interrupt the artwork. A personalized name mural should not place the name behind a headboard. A moon, skyline, or map detail should not disappear behind a tall cabinet if it is meant to be the focal point.If the wall has a centered bed or sofa, a centered composition usually feels intentional. If the furniture sits off-center, you may prefer a design that has visual interest across the full width rather than one large feature located only in the middle. Ordering a sample first is especially helpful when color, scale, or material feel will determine whether a design works with your existing finishes.
Check the Surface Before Finalizing Dimensions
Even perfectly measured wallpaper needs the right surface. Peel-and-stick wallpaper is designed for smooth, clean, dry walls. Fresh paint should be fully cured according to the paint manufacturer’s guidance before installation. Walls with heavy texture, flaking paint, moisture issues, or dusty surfaces may not provide the reliable adhesion you want from a feature wall.Clean the installation area and allow it to dry fully. If you are working around trim, decide in advance whether the wallpaper will tuck behind removable plates or end neatly at the trim edge. Small decisions like these make the finished result look tailored rather than temporary.
A Final Custom Wallpaper Sizing Check
Before placing a made-to-order purchase, review the width and height one more time, confirm that both are in inches, and make sure you used the largest measurements plus reasonable trimming allowance. Check the spelling, capitalization, and layout details for any personalized design at the same time.Custom wall decor is produced for your selected dimensions, so it is not a product to size by instinct or order with plans to return if the wall is different than expected. At WallpaperCraftWorks, that made-to-order approach is what lets a wallpaper design feel considered for your home instead of pulled from a one-size-fits-all shelf.Once the measurements are settled, the fun part can take over: choosing the print that makes your blank wall feel like the room you had in mind all along.