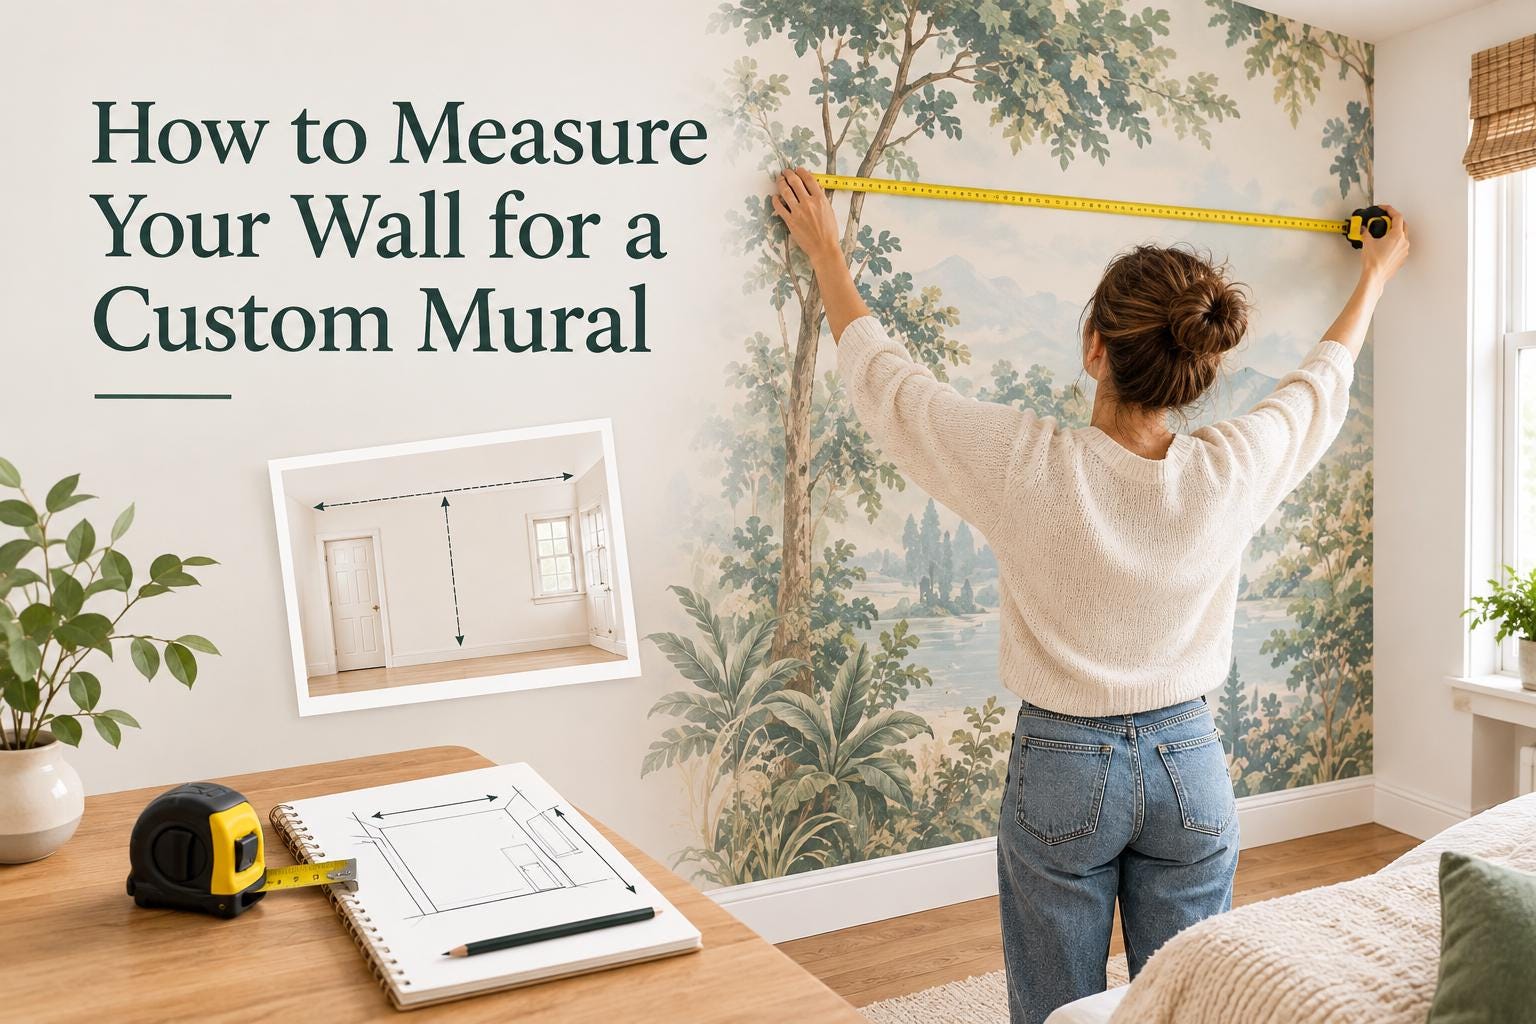
A mural can make a plain wall feel like the most considered part of the room - but only if it fits the space it was made for. Knowing how to measure wall for custom mural ordering is what turns a favorite botanical print, city map, safari scene, or personalized name design into a polished feature wall instead of a stressful DIY project.The good news: you do not need contractor-level skills. You need a tape measure, a few careful notes, and a willingness to measure the wall more than once. Because made-to-order murals are produced for your dimensions, accurate numbers matter before production begins.
Start With the Finished Wall Area
Measure the area you want the mural to cover, not the room itself. For a full accent wall, that usually means measuring from the left edge of the wall to the right edge, then from the floor or top of the baseboard to the ceiling. If you are covering only part of a wall, such as the space behind a bed, desk, or crib, measure the exact rectangle you want decorated.Use a metal tape measure rather than a fabric measuring tape. Record width first, then height, and label both clearly. A note that reads “12 feet x 8 feet” can create confusion later. Write “width: 12 feet” and “height: 8 feet,” or use inches for both measurements.For a mural that reaches the ceiling, measure to the ceiling itself. If you plan to stop above a baseboard, chair rail, or built-in, measure to the point where the mural will actually end. These details affect both the finished look and the size of the made-to-order material.
Measure at More Than One Point
Walls are rarely as perfectly square as they appear from across the room. Older homes, renovated spaces, and even new construction can have slight variations in width or height. Measure the width at the top, middle, and bottom of the wall. Then measure the height at the left, center, and right sides.If the numbers differ, use the largest width and largest height when placing your order, unless the product instructions specify another method. This helps ensure the mural reaches every edge of the wall. Extra material can be trimmed during installation; a mural that comes up short cannot be stretched to fit.Before submitting dimensions, measure once more. It is a small step that can save a made-to-order project from an expensive mistake.
What to Measure for a Custom Mural With Doors or Windows
For most full-wall murals, measure the entire wall as one continuous rectangle. Do not subtract a window, door, outlet, or light switch from your width and height. The mural is installed across the full wall area, and those openings are trimmed out during application.This approach keeps the design continuous around the opening. A soft floral pattern, bold abstract, or star-filled celestial scene will look intentional rather than interrupted by separate pieces of wallpaper. It also gives you the material needed to wrap neatly into a doorway or cut around a window frame.A door that sits inside the mural wall is still part of the wall measurement. Measure from wall edge to wall edge and floor to ceiling, then cut around the door after the mural is positioned. The same applies to windows, closet doors, wall outlets, thermostats, and vents.There is one exception: if you only want a mural above a chair rail, around a window, or in a defined inset, measure that specific finished area instead. In that case, it can be helpful to sketch the space and note every boundary before choosing your custom dimensions.
Handle Sloped Ceilings, Angles, and Awkward Walls Carefully
A sloped ceiling does not rule out a custom mural. It simply calls for a different measuring plan. First, decide whether you want the mural to fill the wall up to the slope or stop at the tallest rectangular portion of the space.When the mural will cover the full angled wall, measure the widest point and the tallest point. The mural can then be trimmed to follow the slope during installation. This leaves enough material at the highest section of the wall, where a too-small order would be most noticeable.For walls with a stair-step shape, a fireplace bump-out, or an angled corner, make a simple drawing. Include the total maximum width and height, then add the dimensions of the unusual areas. A quick phone photo of the wall and its measurements is also useful for your own reference before ordering.If the wall has several complicated angles, think about the visual goal. A full-scale mural may be worth the extra trimming if you want a dramatic landscape, oversized blooms, or a personalized map to sweep across the room. For a smaller, more contained statement, placing the mural on the largest clean rectangle may create a calmer and easier-to-install result.
Do You Need to Add Extra Inches?
It depends on the mural's sizing instructions. Many custom peel-and-stick murals are designed with installation trimming in mind, while some ordering systems ask shoppers to build a small allowance into the dimensions themselves. Always follow the guidance shown for the specific product you are purchasing.Do not guess or add several extra inches simply because it feels safer. Oversizing can change the crop of a design, especially with personalized murals, maps, names, and centered motifs. On the other hand, ordering too tightly to an uneven wall can leave an uncovered edge. The right approach is to use the largest wall measurements you recorded and follow the product-specific sizing direction exactly.A sample can also help before you commit to a full mural. It gives you a chance to see the color in your room's natural and evening light, feel the material, and test adhesion on the intended smooth wall surface.
Check the Wall Before You Order
Accurate dimensions are only one part of a successful peel-and-stick mural installation. The wall should be smooth, clean, dry, and fully cured if it was recently painted. Textured walls, flaking paint, moisture-prone surfaces, and dusty finishes can affect adhesion and the final appearance.Take a moment to look for raised texture, nail holes, peeling paint, or wall repairs. Small imperfections may show through a smooth mural material, particularly with pale backgrounds or minimal designs. Filling and sanding noticeable holes before installation creates a cleaner canvas for the pattern.For renters, a peel-and-stick mural can offer the visual impact of a major renovation without pasted wallpaper or professional installation. Still, removable does not mean every wall condition behaves the same way. Testing a sample on your surface is a thoughtful extra step, especially in older apartments or spaces with unknown paint history.
A Simple Measuring Checklist Before Checkout
Before ordering, make sure you have these details written down:
- The maximum wall width and maximum wall height
- Whether the mural covers the full wall or a defined section
- The location of doors, windows, outlets, and sloped ceilings
- The product's instructions for measurement allowance and trimming
Keep your notes with the design name or screenshot you selected. This is especially useful when comparing several mural styles, since the right crop can influence your choice. A sweeping landscape may benefit from a wide wall, while a monogram, nursery name mural, or centered arch design may need more precise placement.
Plan the Design Placement, Not Just the Dimensions
Once you know your wall size, consider what will sit in front of it. A headboard, desk, sofa, crib, or console table can cover a meaningful portion of the mural. That does not make the design less impactful - it simply helps you choose the right pattern scale.Large-scale florals and expressive abstract designs can create a strong backdrop behind furniture. Detailed maps, illustrated safari scenes, and personalized designs often deserve a more visible section of wall so their special details can be enjoyed. If a room has low ceilings, a vertical pattern or upward-moving design can help the wall feel taller. If the room is narrow, a wide landscape or horizontal composition can make it feel more expansive.At WallpaperCraftWorks, every custom mural is meant to make a room feel more personal without asking you to take on a permanent renovation. Give the measuring stage the same care you give the design choice, and your finished wall will have the clean, made-for-the-room look that makes a mural feel truly special.